caustics map
caustics mapという言葉はないかもしれませんが、今回はcausticsの強さを事前に計算するパイプラインを作成し、caustics map作成後rendering用のパイプラインでそれを使用するという方式で実装しました。
caustics mapパイプライン
causticsの強さを計算するだけのパイプラインを作成します。例では光源は単一のもので計算しているので、光源をrayのoriginとし水面の各点にrayを飛ばすようなパイプラインにします。
イメージ図
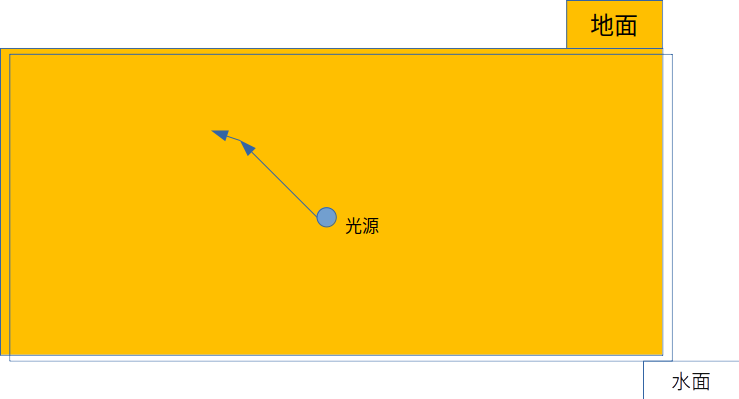
地面を一枚のimageに見立てて、水面から屈折したrayがヒットした位置に光の強さに応じた色を格納します。
raygen shader
vec3 origin = pushC.lightPosition;
vec2 relative = vec2(float(gl_LaunchIDEXT.x) / float(gl_LaunchSizeEXT.x), float(gl_LaunchIDEXT.y) / float(gl_LaunchSizeEXT.y));
float waterWidth = righttop.x - lefttop.x;
float waterHeight = lefttop.z - leftbottom.z;
vec3 target = vec3(left + waterWidth * relative.x, seaBase, bottom + waterHeight * relative.y);
vec3 direction = normalize(target - origin);
float tmin = 0.1;
float tmax = 10000.0;
uint flags = gl_RayFlagsOpaqueEXT;
traceRayEXT(topLevelAS, flags, 0xff, 0, 0, 0, origin, tmin, direction, tmax, 0);
rchit shader
水面にhitした先のrchitシェーダにて光を屈折させ、底面にヒットした座標に対応するimageに色を格納します。
for(uint i = 0; i < 2; i++)
{
  InitPayLoad(vec3(0.0), vec3(0.0));
  traceRayEXT(topLevelAS, flags, 0xFF, 1, 0, 1, origin, tMin, refractD, tMax, 2);
  if(prdBlend.hit)
  {
    vec3 planePos = prdBlend.pos;
    ivec2 imagePos = ImagePos(planePos);
    float d = length(planePos - pushC.lightPosition);
    float l = pushC.lightIntensity / (1.0 + d * d);
    vec4 oldColor = imageLoad(image, imagePos);
    oldColor = vec4(min(1.0, oldColor.x + l));
    imageStore(image, imagePos, oldColor);
    break;
  }
  origin = prdBlend.pos;
  refractRatio = 1.0 / refractRatio;
  refractD = refract(origin, prdBlend.normal, refractRatio);
}
renderingパイプライン
あとはrenderingパイプラインにてcausticsの色を計算するときに、hitした地面の座標に対応するcaustics mapの値をimageLoad関数を用いて参照し、色を計算します。
あとがき
アイデア自体はやはりシンプルなのですが、vulkan側でのimageの初期化に手間取ったり、一番はglslでの計算というか、整数->小数点のキャストの詳細を知らなかったので、いつまでたってもある一点にしかrayが飛ばないなどで苦労しました。
基本のルールを把握して、それを積み上げてプログラミングすることが大事ですね。